June 17, 2018

Scrapbook Sunday - Hello Beautiful


Now I promise not all my layouts are of myself! I plan on starting to scrapbook more event layouts soon. Today's layout is more focused on a technique I want to share. I discovered this on my own and it's one of my favorites that I can't wait to try again.


For the background I used an older cut-file from Studio Calico that unfortunately I can't find in their shop anymore to share with you. I did cut the background out of white card stock. The outline of the flower I painted black with acrylic paint. You could just cut the file twice in two different colors, but this way seemed faster to me and the paint added to the artistic look.

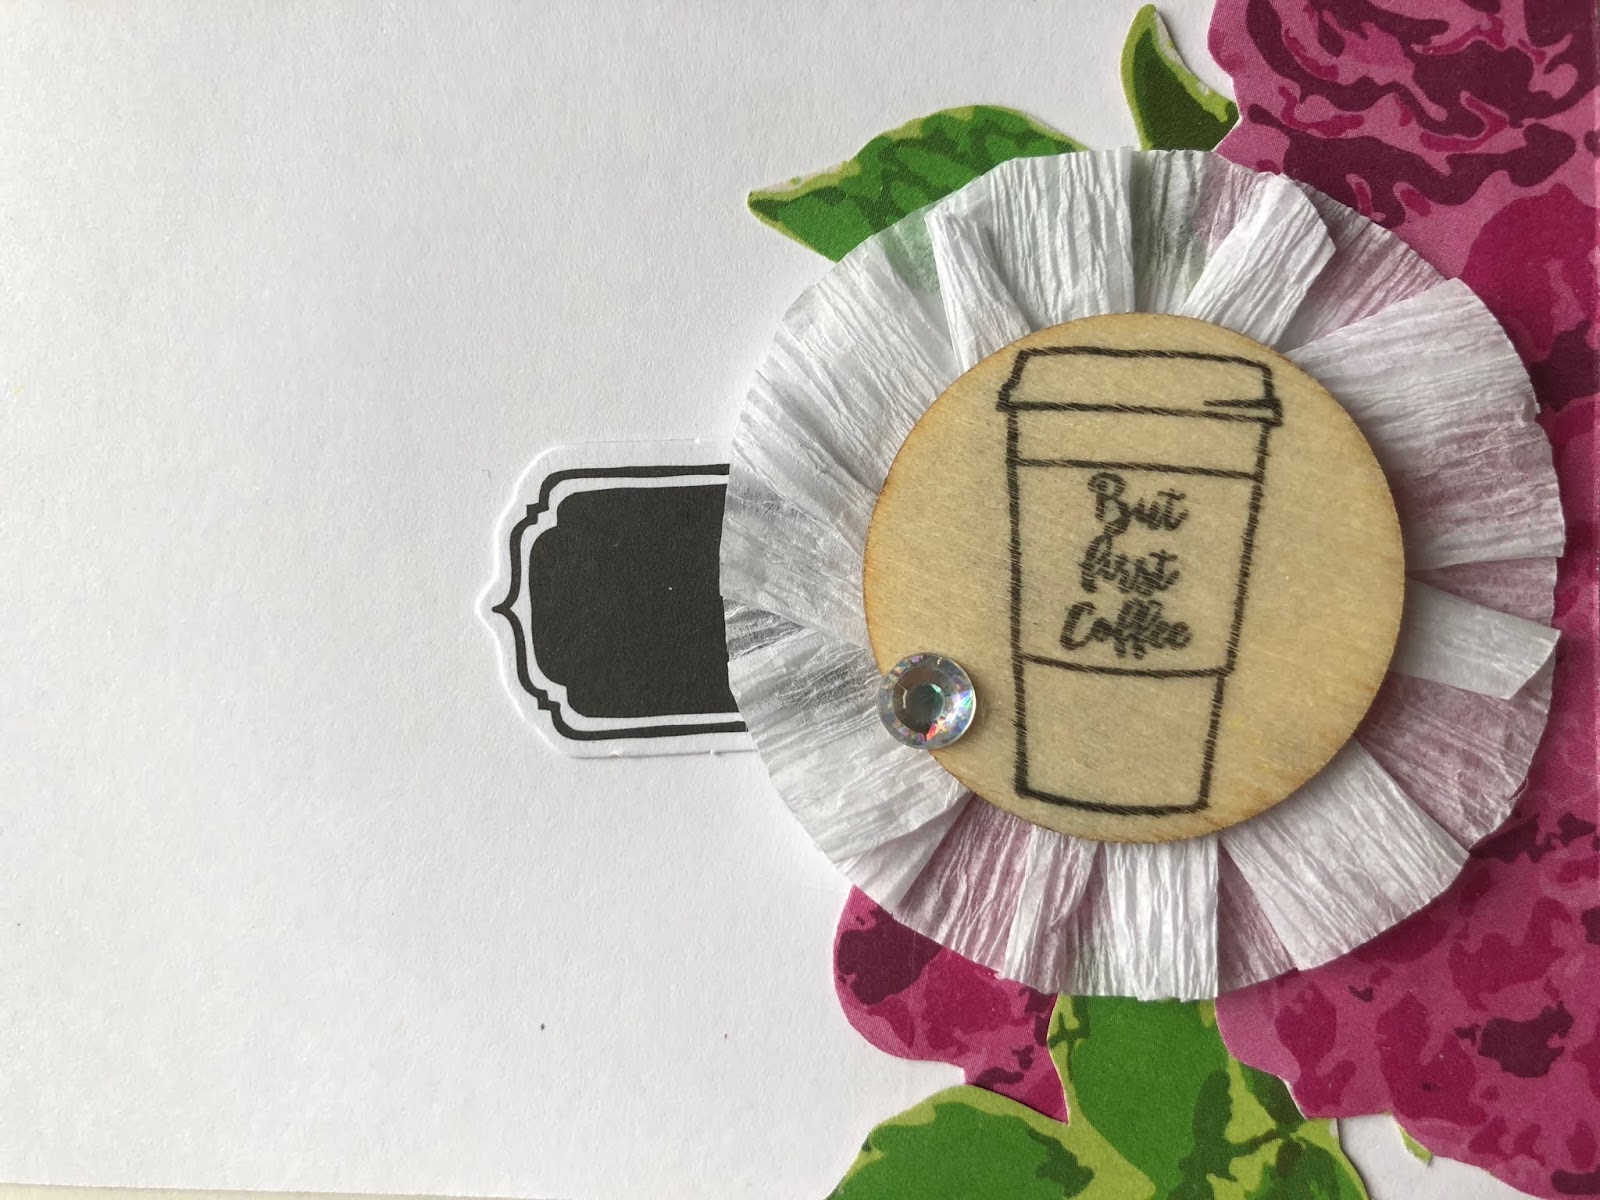
For the petals of the flowers; first, I embossed them with a flower themed embossing folder. Next, I added color using oil pastels. I really love working with my pastels after having to purchase and use them for one of my college courses. Now the pastels never set, so I used Modge Podge to seal them. I went with a glossy finish out of preference. I love the shine it gives, but wasn't able to capture it in pictures. 


I hope you give this technique a try. Next, I want to purchase a butterfly embossing folder and use one of Paige Evan's many butterfly background cut files.

Happy Sunday!

June 15, 2018

Project Share - Family Portrait


This is a bit different than my normal posts, but as I've said I'm a girl of many hobbies! A few weeks ago I was commissioned to make a cross-stitched family portrait for someone. They sent me to this Martha Stewart tutorial to give me a sense of what they were looking for. I did use the tutorial as a guide for some of the figures, but was able to modify the design to fit the people I was emulating.


The hardest part was the puppy. They have a small Shih Tzu who is very lightly colored; whites and creams. I had to modify the colors slightly so she wouldn't disappear. I also couldn't find any templates or guides online for her design. I was on my own with her, but I love the way she turned out.


The final piece in the end was perfect for an 8x10. I think that's an appropriate size for a family portrait. I have noticed that most of these on Etsy are only 5x7. For what the cost is to the customer that seems too small to me. I went larger to give my client more bang for her buck so to speak.

Here is one more shot of it out of the hoop when I was ironing it. She is taking it in to be framed professionally instead of displaying it in the hoop.


If you are interested at all on having a portrait made please feel free to contact me!
aurorwillow@gmail.com

Thanks for stopping in.

June 14, 2018

Scrapbook Share - But First Coffee


Hello hello. I hope everywhere and whenever this blog post finds you that you are doing well. Hopefully it will be on a peaceful day with a cup of coffee in hand (or tea if that's your fancy).

Today, I wanted to share with you another layout. This was the first layout that I made after stepping away from this hobby for about a year.

When I first got into scrapbooking all my supplies were very inexpensive, think Colorbok and Michaels. Well soon after I fell in love, and became obsessed with following the trends and the designers. It's funny too because every layout I made during that time I didn't love. In fact I don't even have them any more. I got tired of spending so much money on my hobby and never feeling happy with what I was making. I never felt like I had enough supplies or the right ones. So I chucked it all and washed my hands of it.

I stayed away for about a year. For some reason I always get a strong urge to scrapbook on my birthday. Maybe it's because the passage of time is so unavoidable. So this year on my birthday (February 20th) I went to Walmart. I bought one paper pad, a bag of wooden shapes, some bling, and a stamp set. I think I spent around 20 - 25 dollars. I came home and this is what I made.


Isn't it simple yet beautiful! I adore it. I am really proud of the wooden embellishment at the bottom. I had watched a couple of tutorials on how to make crate paper rosettes and had a go at my own. Again, the wooden circle and the coffee stamp came from Walmart. 


Most if not all of the layouts you will see on my blog from now on will be inexpensive layouts. I have plenty of paper left in that paper stack. No need or desires anymore to stay trendy.  

Oh before I go I wanted to share the t-shirt I was wearing in this photo too. It's what I wear on Scrapbook Sundays (or Sunday Fundays). 


To Perfect right?!

Thank you for sharing a small part of your day with me.

June 10, 2018

Scrapbook Sunday - Hometown


Today I have a two page layout to share with you, and it's one of my favorites that I've created. It came about in a serendipitous kind of way. Whenever I get an idea for a scrapbook layout I jot it down in a little notebook. It's in a list format. I had the idea that I wanted to die-cut the shape of Ohio, back it with pattern paper, and then add some stitching. That's been in my notebook for awhile. Lately I have been obsessively listening to Kacey Musgraves' and the lyrics to one of her songs caught my attention:

"Had to get away so I could grow
But it don't matter where I'm goin'
I'll still call my hometown home"
Dime Store Cowgirl - Kacey  Musgraves


I went to jot that down in my notebook, and when I was flipping through the pages I noticed my previous Ohio idea. Bam! Inspiration struck and I had to create this layout. 


I die-cut the Ohio shape with my Silhouette Portrait. The papers I used are from a ColorBok stack I picked up at Walmart. It's called: Modern Millinery. Oh all the wood pieces also came from Walmart. They have this big bag of random shapes in the craft section. It's totally worth picking up.

Here are the pages individually:


The Logan, Ohio at the bottom I used a Studio G dollar alpha stamp set as well as some cheap alpha's I found at Meijer. Those dollar bins have always served me well. 


Here is the right side:


Thank you for taking a look. I really recommend having a place to store all those random ideas that spring to mind. You never know what two ideas will connect!

June 6, 2018

Scrapbook Share - Adore


Today I have a layout to share. This layout was inspired by a Wilna Furstenberg layout created way back in 2012. I even used the same cut file as she made it available through one of her classes. I could not find it for purchase in her store by it self but this one is very similar and could be used to achieve the same look.


The Inspiration


My Layout


I modified the design to work better with an 8.5x11 layout and of course to make it my own. The photos are of my niece and I. She has a very special place in my heart so you will be seeing that smile again. 

The papers I used were from an old October Afternoon collection that is no longer around. It's hard to say what I used because the scrapbooking market moves way to fast for it to be of any use. I am a big supporter of using what you have in your stash. 

I want to share one more close ups before I leave you. The top section of this layout is my favorite. I will have to use the stacked circle sticker idea again soon.


June 4, 2018

Pink Smash Folio - Happy Birthday

 I'm sure many of you that have been scrapbooking for a few years have a Smash folio or two lying around. They were all the rage back in 2012 I believe. I was really into journaling around that time and I remember going to google to look for interesting or guided journals. For some reason the Smash Folios came up in my search and I was sold. They were my first introduction into scrapbooking and here I am six years later.

Now I don't have my first few books, as they were mostly filled with junk (old receipts, movie tickets, etc) and pinterest quotes. I ended up tossing them when I moved out of state as I just wasn't in love with them anymore. Although I kept one that was filled with pen pal letters and postcards. I'll share that one at a later time.

About a year ago I re-purchased two of them. I have the Red Doodle one that I'm using to document my university years, and also the Pretty Pink one that is going to be about my twenties. That one I want to share with you today!

Pretty Pink - My Twenties 


The cover I painted white with regular craft paint. It was a tad difficult staying within the embossed area so I only did one coat. 

The first spread that I want to share is a birthday layout.


This was truly one of the best birthdays of my life so it had to go in this book. Every year I take a birthday selfie, so that is the picture on the left side of the spread. I used a Maggie Holmes line for the papers and embellishments.


My boyfriend surprised me that morning with yellow roses so I glued two of the dried leaves on to the right hand page next to the calendar. I did use them as a stamp on another project so that's why they are painted gold. 


We spent most of the day at an art museum, so I included a picture of myself and also my favorite piece of art. Every time I visit this museum I have to gaze at that statue. It's so detailed and lovely. 


Here is one more close up shot before I leave you!


June 3, 2018

Scrapbook Sunday - New Beginnings


I have started a recent routine where I devote Sundays to only doing the things that I love or want to do. I am not a religious person, but I do value the idea of having a day of rest. Lately I have been spending my Sundays either scrapbooking or surfing Pinterest for scrapbooking ideas.

To add to that I want to have a weekly Sunday post sharing a scrapbooking layout that I've made. This first one I have for today is the title page for one of my albums.


About the Layout

This is one of my favorites! I am normally a stickler for things being straight on my layouts. For this one I let the entire middle design be at a slight angle. I also watercolored the flowers on the paper to the right to match the paper embellishments. Oh I cheated on the background too; I used two pieces of identical 6x6 paper, the seam is hidden underneath the photo.


About the Photo

The pose I am holding in the photo is that of the Hindu god Shiva. I learned about this stance in my Mythology course. The hand that is up, is a warning in regards to life; life is full of pain and suffering. The other hand that is down and exposed is a welcome however. I fell in love with the notion of being given a warning and a welcome at the same time. I like to experiment with my self-portraits so this pose was something I wanted in my scrapbook album. 


Let me know what you think in the comments. 
If you have any questions as well, feel free to ask.

Thanks for stopping in!